How to Safely Harvest and Cure Onions for Long-Term Winter Storage
Growing onions to size is only half the battle. If you want your home-grown bulbs to survive dark winter nights without turning to mush, turning your focus to harvesting and curing is where the real work begins.

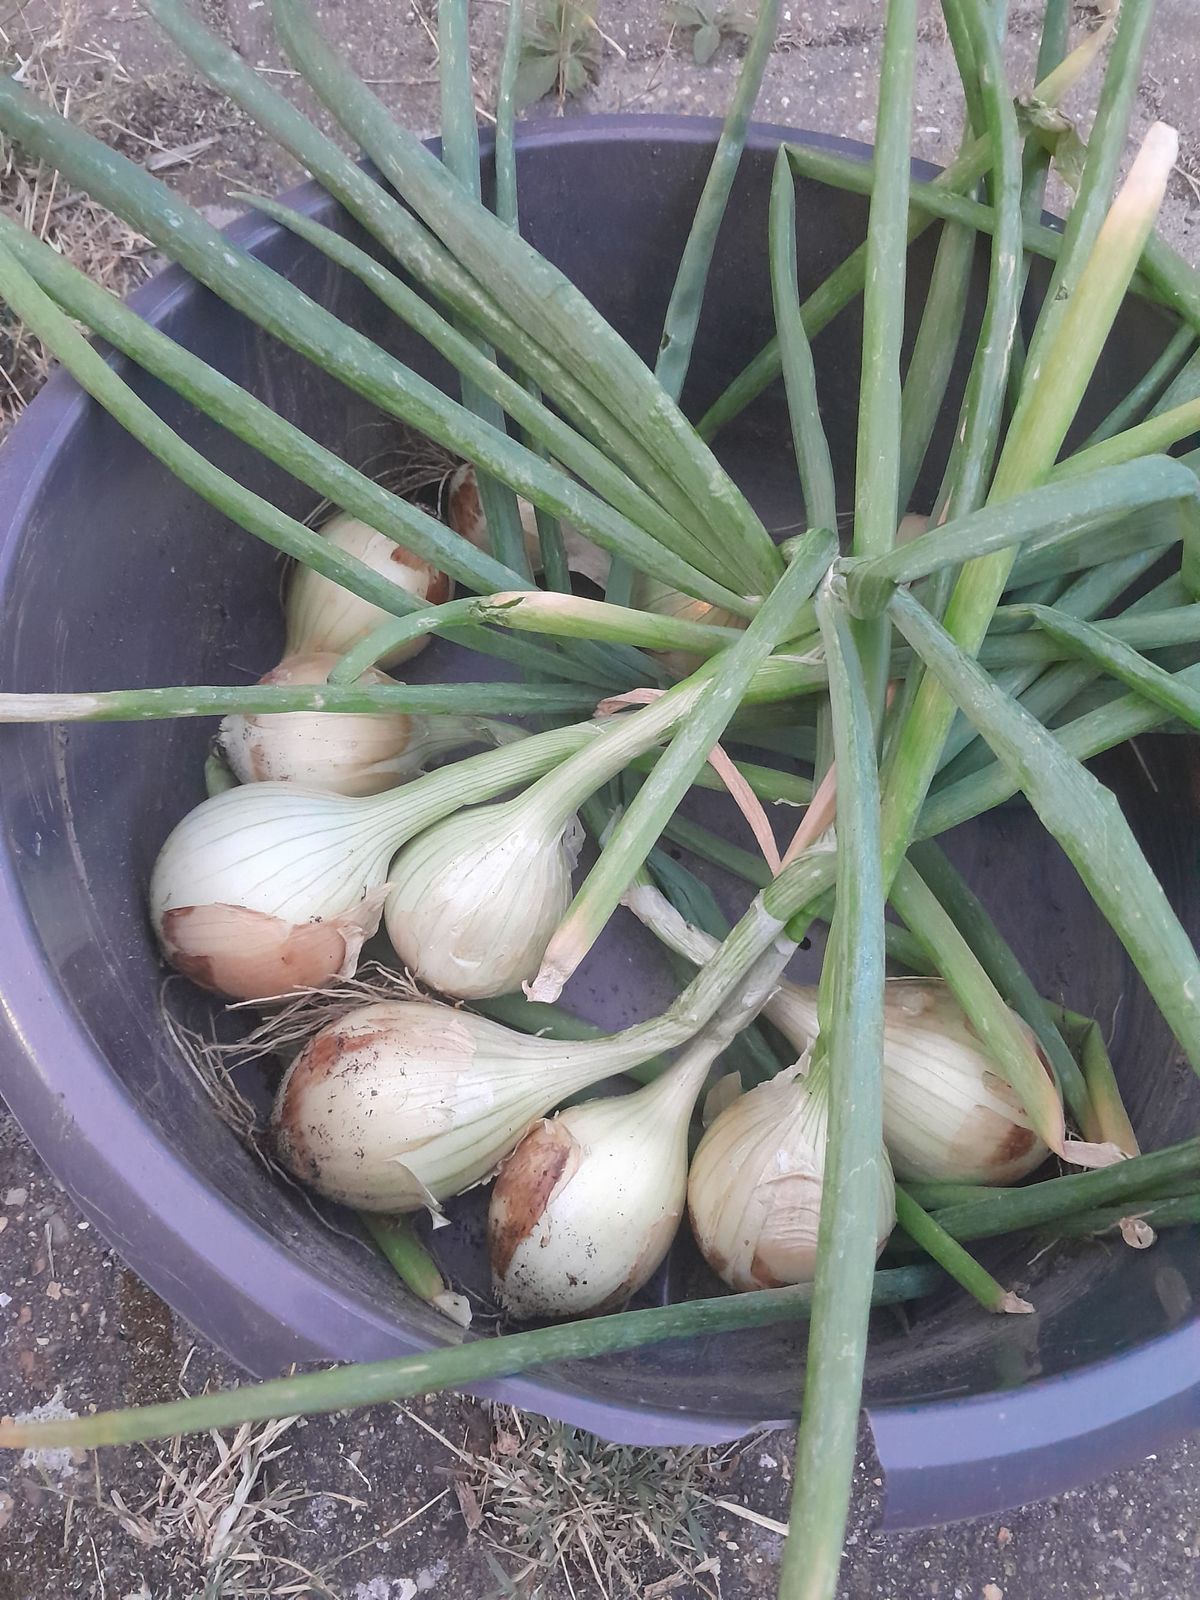
There are few sights on the plot quite as satisfying as a bed of plump, fully grown onions. But growing them to size is only half the battle. If you want your home-grown bulbs to survive dark winter nights without turning to mush, turning your focus to harvesting and curing is where the real work begins.
Get it right, and you'll be eating your own onions well into spring. Get it wrong, and a sneaky fungal rot will wipe out months of effort in a matter of weeks.
Here is how to safely harvest, cure, and store your onion crop for maximum shelf life.
1. Knowing When to Harvest: Reading the Signals
Timing is everything. Harvesting too early means underdeveloped bulbs with thick necks that won't cure properly; waiting too long exposes the outer skins to damp soil and soil-borne fungi.
Look for these three clear indicators:
- The Top-Down Collapse: When around 50% to 70% of the foliage naturally bends over and falls to the ground, the plant has stopped actively feeding the bulb.
- The Neck Test: Gently pinch the stem just above the bulb. It should feel soft, papery, and slightly collapsed, not firm or juicy.
- Paper-Thin Skins: The outer layers should be starting to feel dry and rustle when touched.
Top Tip: resist the temptation to manually bend over healthy, upright onion tops to force them to mature. Let the plant collapse naturally so it seals off the neck properly!
2. Safe Harvesting: The Gentle Lift
Onions have shallow, brittle roots, and their outer skins act as their primary protective barrier against rot. A bruised onion is a non-storable onion.
- Ease them out: Never pull onions out by their leaves, as the neck can easily tear away from the bulb, leaving an entry point for bacteria. Use a hand fork or garden fork to gently loosen the soil well beneath the root plate, then lift the bulb from underneath.
- Brush, don't wash: Gently shake off loose soil. Never wash onions you plan to cure for storage. Moisture is the absolute enemy at this stage; keep the bulbs completely dry.
3. Curing: The Essential Step for Winter Storage
Curing is the process of drying out the outer skins, neck, and roots of the onion until they form a tight, protective, paper-like shell. This locks out moisture and air-borne fungal spores.
The ideal curing environment:
- Temperature: 20°C to 28°C (68°F to 82°F).
- Airflow: High, continuous ventilation.
- Light: Warm, indirect light or shade (direct, scorching summer sun can actually cook the outer layers).
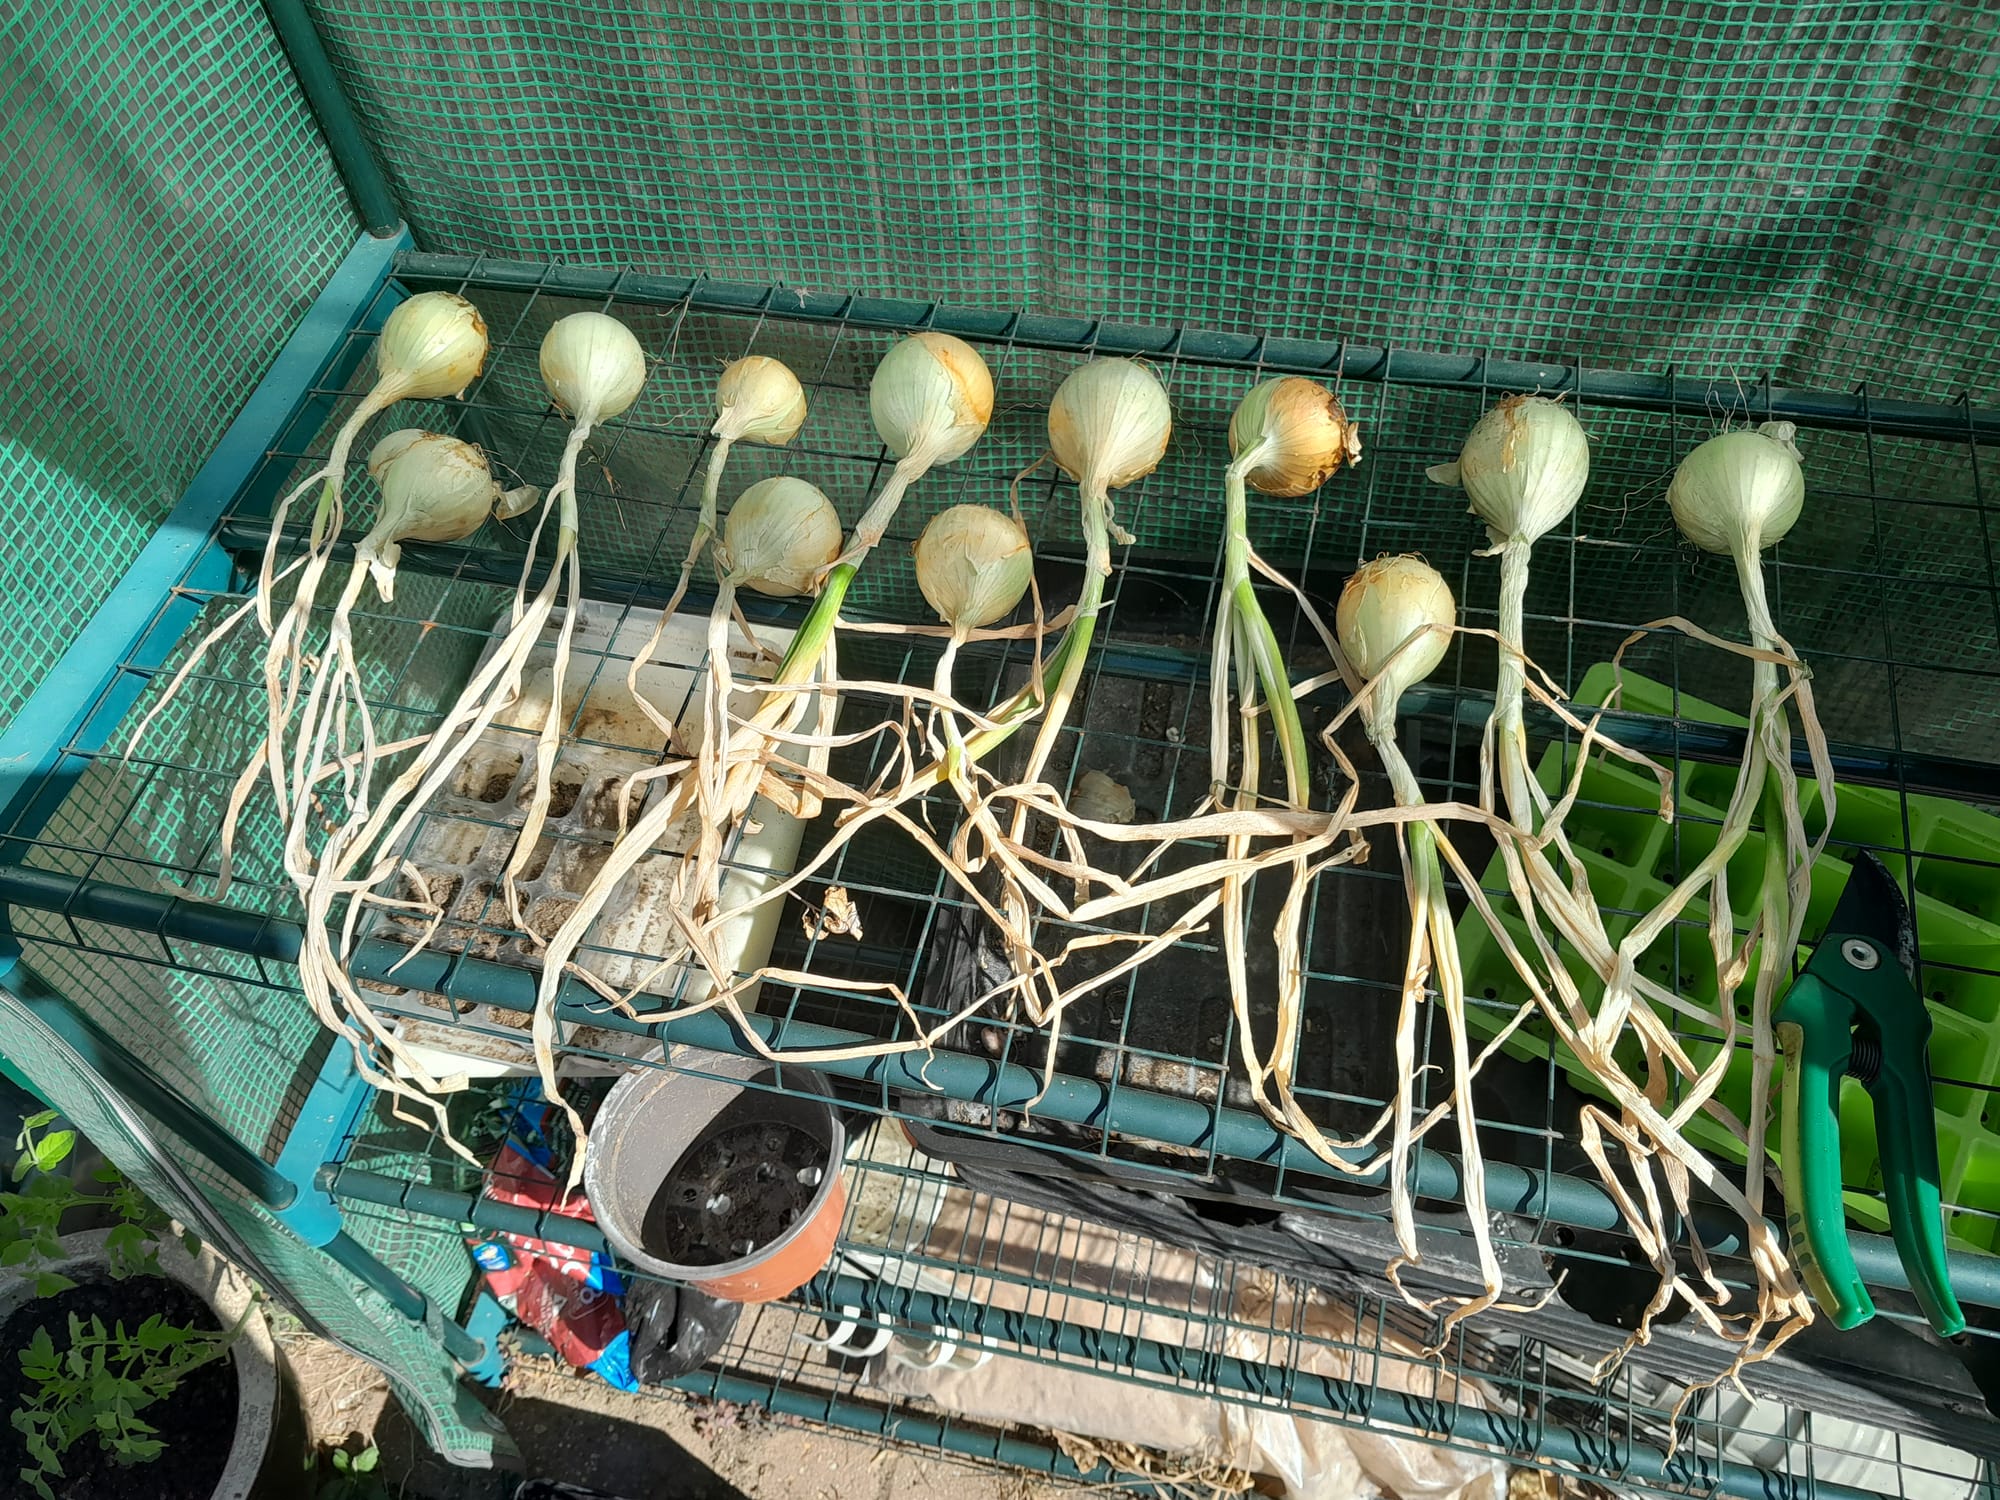
How to cure them:
Lay the harvested onions out in a single layer on slatted wooden staging, wire mesh, or dry cardboard. Ensure the bulbs aren't piled on top of one another.
- Dry Weather: A greenhouse, poly-tunnel, or airy garden shed with doors and windows opened wide works brilliantly.
- Wet Weather: Bring them indoors or into a garage/utility room with an electric fan running to keep the air moving.
Leave them undisturbed for 2 to 3 weeks. You will know they are fully cured when the stems are completely brown and brittle, the roots feel like stiff wire, and the outer skins rustle dryly like paper.
4. Trimming and Storing for the Long Haul
Once fully cured, it's time to prep them for the pantry or store-cupboard.
+-------------------------------------------------------------------+
|                  🧅 ONION STORAGE PREPARATION 🧅                  |
+-------------------------------------------------------------------+
|  STEP         |  ACTION                                           |
+---------------+---------------------------------------------------+
|  1. Inspect   | Reject any soft necks, thick stems, or bruised bulbs|
|  2. Trim      | Cut tops to 2.5–5cm (1–2 inches); trim roots short|
|  3. Store     | Pack in mesh nets, slatted crates, or braid them  |
|  4. Climate   | Cool (4–10°C), dark, dry, well-ventilated space   |
+-------------------------------------------------------------------+
- The Strict Quality Audit: Go through every bulb. Any onion with a thick, fleshy stem (a "thick neck") or soft spots will not store long-term. Set these aside to use in cooking over the next week or two.
- Trimming: Use sharp, clean snips to cut the dry tops down to about 2.5–5cm (1–2 inches) above the bulb. Trim the withered roots back to around 1cm.
- Braid or Bag: You can either plait/braid the remaining stems together to hang in strings, or simply place the trimmed bulbs into breathable mesh sacks, hessian bags, or wooden crates.
- The Ideal Storage Location: Keep your cured onions in a cool, dark, frost-free, and well-ventilated spot (around 4–10°C is ideal). A cool garage, dry cellar, or unheated pantry is perfect. Never store them in plastic bags or near apples/bananas, which release ethylene gas and cause onions to sprout prematurely.